Palmer Typhoon Rebuild
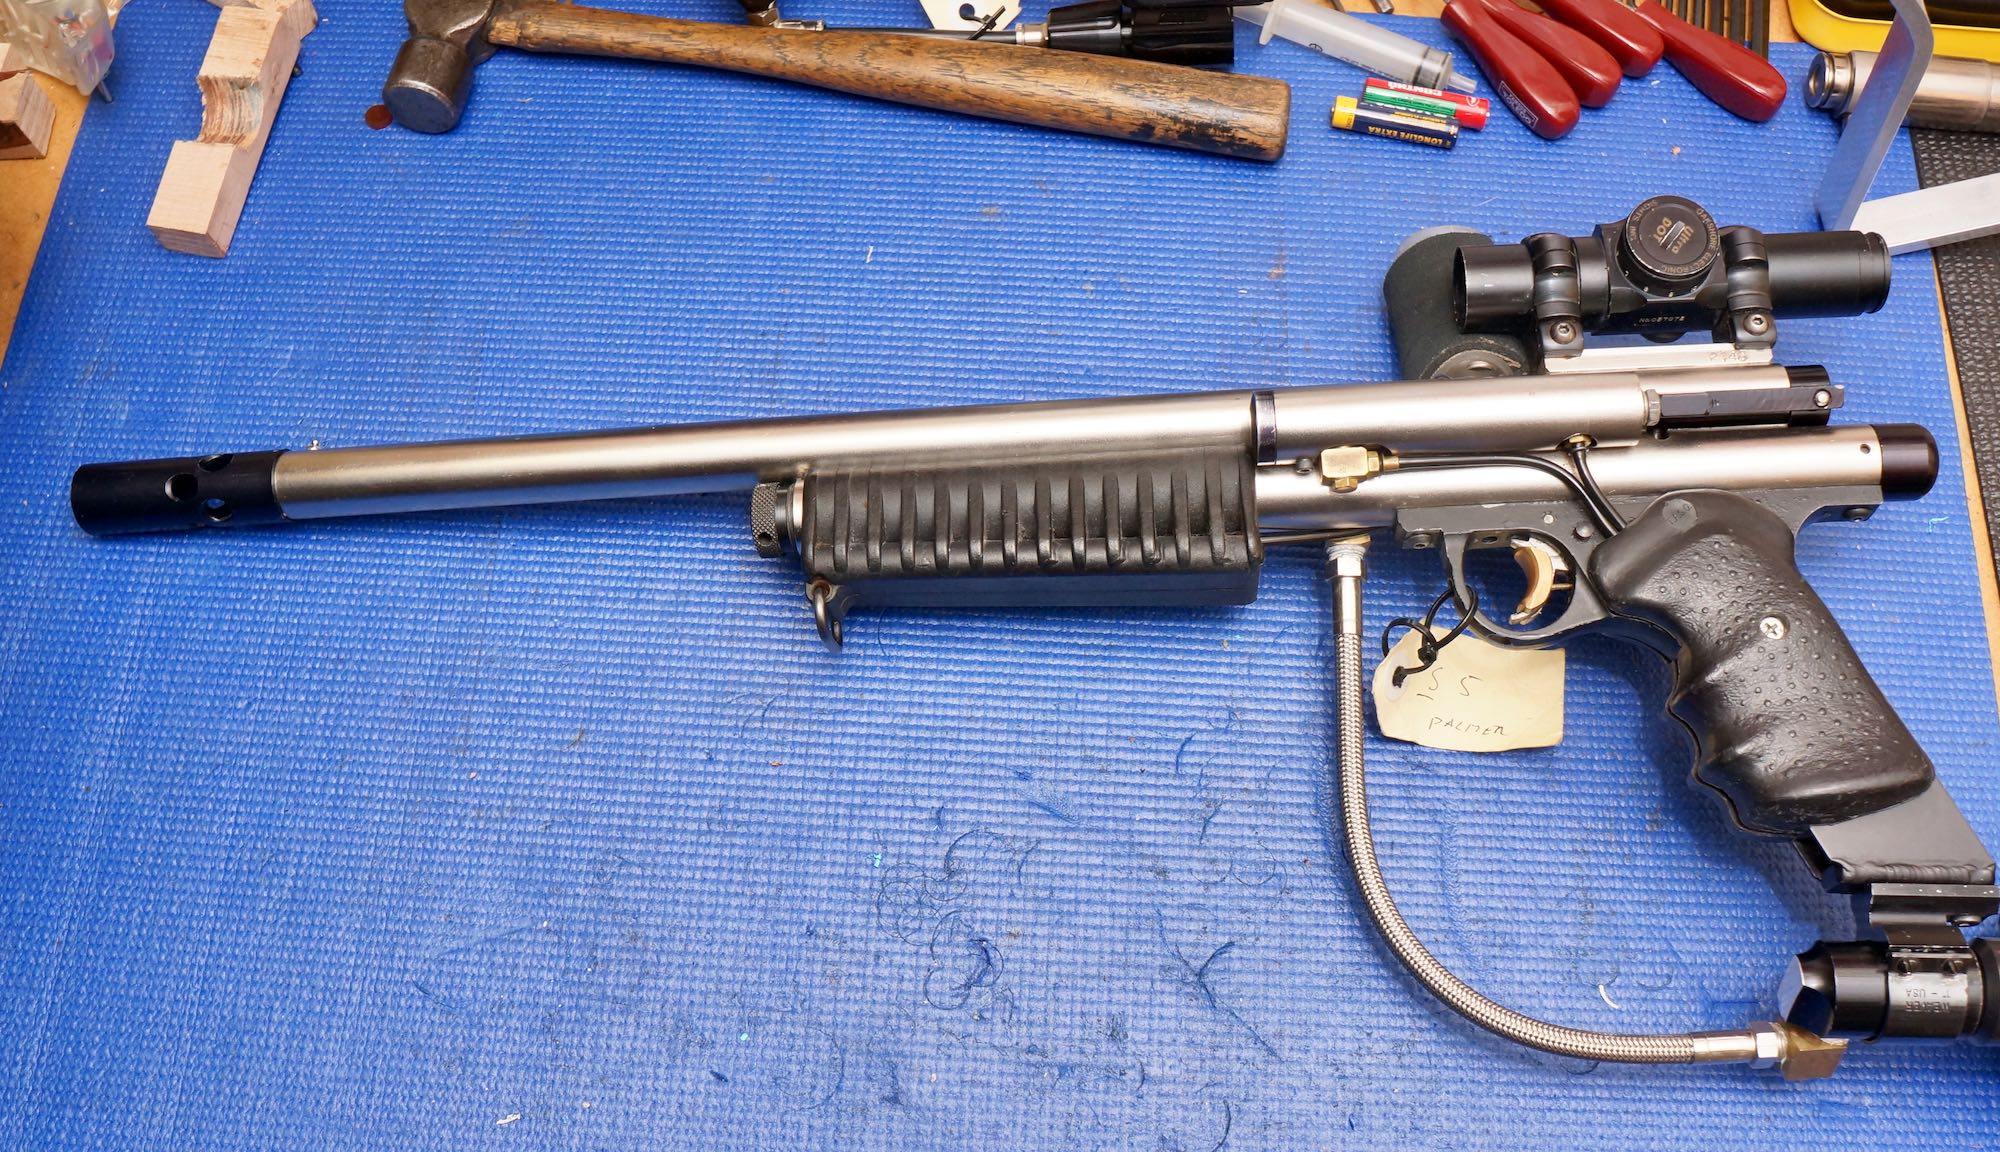
I’ve just completed the rebuild on this 1992 Typhoon from Palmer’s Pursuit Shop. It turned out to be a fairly lengthy process.
Whilst built from scratch, internally the Typhoon has many similarities to early Sheridan paintball markers. The hammer and valve assembly is pretty much identical including the lead sealing washer. The Typhoon is a closed bolt design that uses a 4 way valve located in the grip frame that is linked to the trigger to operate a cocking ram. It is in essence an automated pump marker.
This particular Typhoon needed a complete strip down to replace all the internal o-rings. They had rotted away and air was leaking from several locations. Disassembly was a bit fiddly and I had issues removing the internal valve and regulator bodies. They were both very tight and you can’t just knock them out with a punch because they are inserted from opposite ends.
First you need to remove the valve assembly and LPR adjuster & piston. The valve comes out the back using a special Sheridan valve tool (available online). This tool allows you to unscrew the brass retaining nut and pull the valve assembly.
Next unscrew the LPR adjuster on the front and remove any springs and spacers noting what order they are in for reassembly.

To remove the LPR piston unscrew the output banjo fitting and blow compressed air through the opening. This should force the piston out of the lower tube (cover the end of the tube with a rag to catch the piston and point in a safe direction).
To remove the regulator body insert a screw into the LPR output hole (under banjo fitting) and wiggle the body towards the barrel end. This exposes the back of the regulator body where the main airline connects on the right hand side of the marker. From here it is possible to slowly push the regulator body down the lower tube until it is free (I used a piece of microline to help push it out).
The rear valve body can now be knocked out with a punch,
Reassembly was a lot easier apart from a serious leak from the main airline elbow. The thread on the aluminium LPR body was seriously damaged and refused to seal regardless of any sealant I tried. In the end I machined 2mm off the bottom of the elbow thread to allow it to be screwed a bit further into the LPR body which cured the problem.
With luck it should now be good for another twenty years.